Developing an Ember.js Edge
10. Getting Started With EmberTrackr
EmberTrackr is a skeleton application for an issue tracking system. Its primary purpose is to demonstrate the basics of building an Ember application in a holistic manner. EmberTrackr contains three entity types:
- A "user" model that represents a person in the system
- A "ticket" model that represents a ticket that is being tracked by the system
- A "comment" model that represents comments or notes written by a user on a given ticket
As we walk through the development of EmberTrackr we’ll apply all of the concepts learned in previous chapters. You can find the EmberTrackr repository here: https://github.com/developing-an-emberjs-edge/ember-trackr. Note the README.md file in the repository contains a quick start guide on building and running the app.
Tools
EmberTrackr is built with a basic set of libraries, frameworks, and tools.
First up, we have our core dependencies:
- jQuery
- Handlebars
- Ember
Then a new library to handle data:
- Ember Data — official model layer, developed and maintained by the core team
And some front-end styles:
- Bootstrap — CSS framework, developed and maintained by Twitter
And finally our build and testing tools:
- Ember Tools — ember build tools, developed and maintained by Ryan Florence
- QUnit — testing framework, developed and maintained by the jQuery core team
- Testem — test runner, developed and maintained by Toby Ho
We’re going to use Ember Tools for managing the application’s source files. Ember Tools automates lots of common tasks, such as:
- Generating the project structure and individual sources files
- Precompiling templates
- Compiling app, templates and dependencies down to a single file
We want to develop EmberTrackr in a test-driven style, so we’ll be using QUnit as our testing framework. At the time of writing, QUnit provides the best support for asynchronous aspects of Ember’s testing package.
We also want to build and run our test suite automatically as files are changed. For this, we’ll be using the Testem test runner. Testem will be in charge of watching our source and test files, triggering builds, and running the test suite in all of our target browsers.
NOTE: The tools we’ve chosen for this book are by no means the only options available. At the time of writing, there is a thriving ecosystem of open source build tools, testing frameworks and runners.
Installing Tools
Both Ember Tools and Testem are available as Node packages. If you haven't already, now’s a good time to install Node. Installation instructions for all systems can be found at:
http://nodejs.org/
With Node installed, we’ll install Ember Tools and Testem as global packages:
$ open http://developing-an-emberjs-edge.github.io/ember-trackr/
NOTE: Generally speaking, Node packages are best installed in the scope of a particular project. We will be using ember-tools to generate our project, so we need it installed globally first. It doesn’t hurt to install Testem globally either, as it’s an incredibly useful package.
Getting Started With EmberTrackr
To get a feel for what we’re trying to build, let’s start by running the completed app:
$ open http://developing-an-emberjs-edge.github.io/ember-trackr/
Let’s explore its capabilities from a functional standpoint. Admittedly, EmberTrackr is a pretty simple app, but an overview will serve us well in later sections.
The first page you'll see should like this:
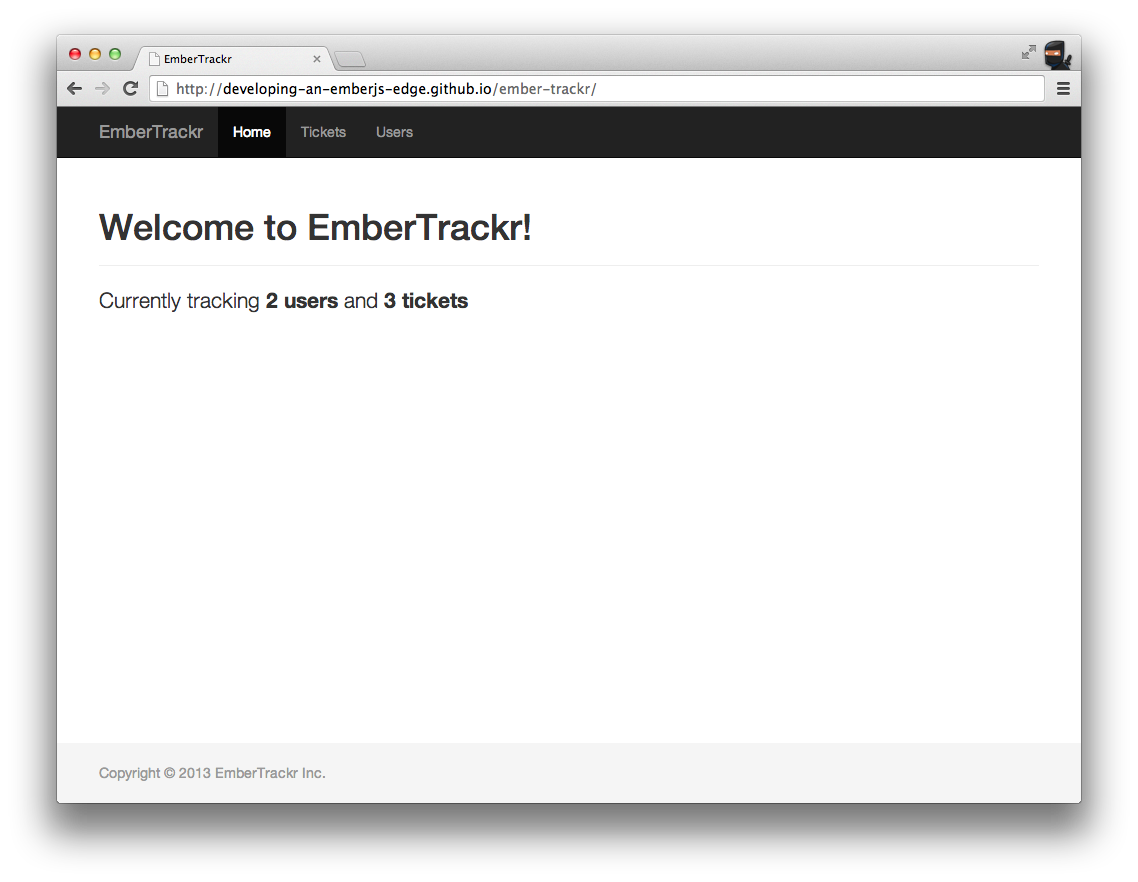
The top navigation has two tabs: "Tickets" and "Users." We’ll start with "Tickets." Clicking that tab will reveal a list of prebuilt tickets. Selecting a ticket from the list on the left will cause the right hand portion of the screen to transition to a detailed view of the ticket. Also notice that the route in the URL bar has changed to reflect our current location. One of the cornerstones of Ember’s philosophy is that you should be able to route to all of the main portions of your application with a URL.
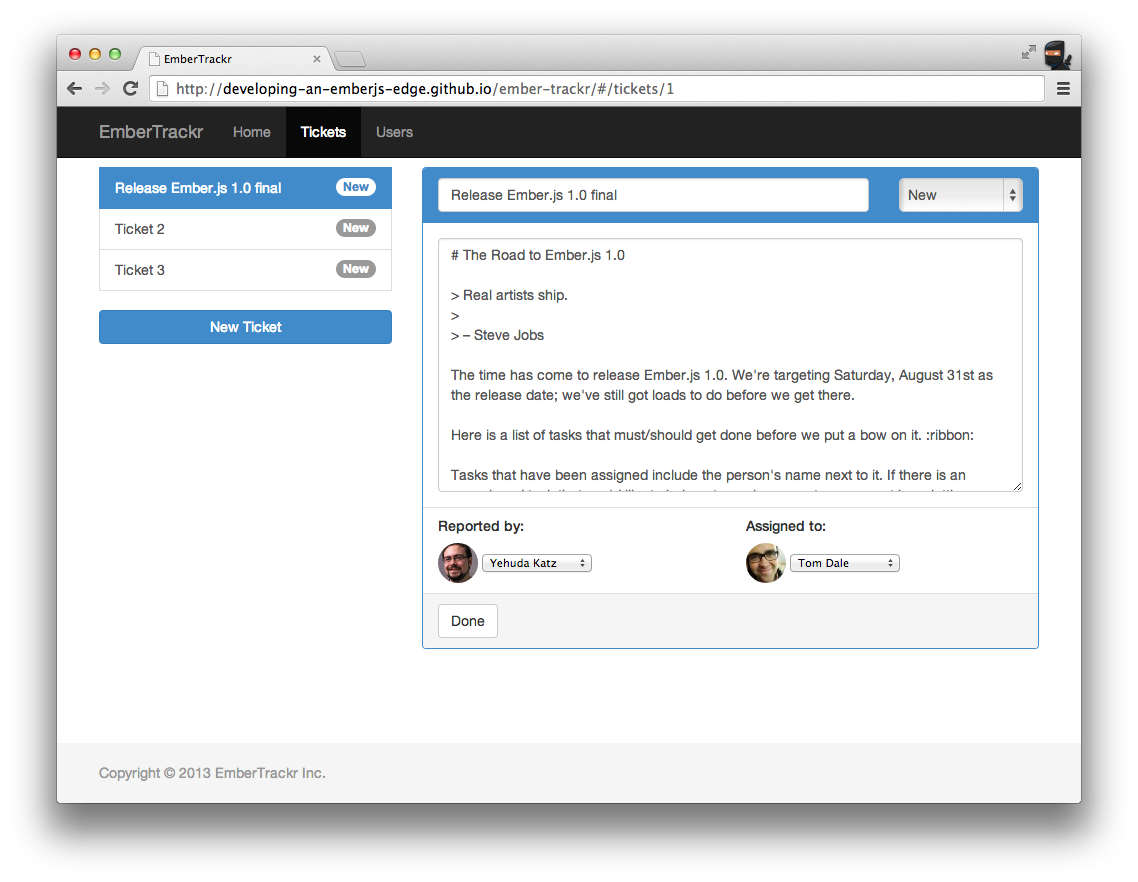
Back in EmberTrackr, we see a comment section at the bottom of the current ticket. Make a comment, switch to another ticket, then back to the current ticket. The comment record is saved in the ember-data store and is restored upon return. We can edit the details of this ticket by clicking the edit button, or create a new ticket by clicking the create button. This should all be pretty straightforward.
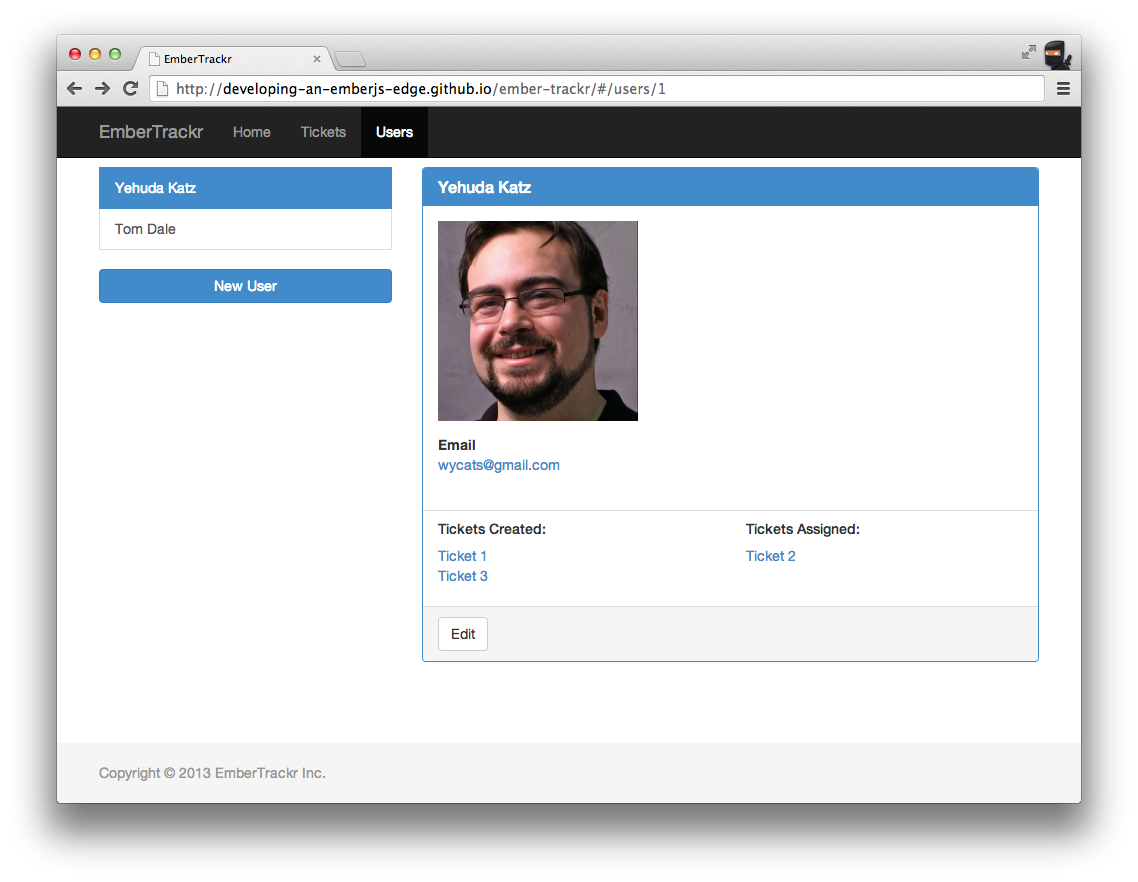
In the next tab, “Users," we see a list of users that are present in the system. Selecting a user will show their user ID, display name, email address and avatar (provided by Gravatar). You can edit a user or add a new one from here. Again, this should all be pretty straightforward.
Building EmberTrackr
Now that we’ve had a chance to play with the EmberTrackr app and understand what it is we’re going to build, we’ll walk through the process of building it, step-by-step over the next few chapters. This will provide a better understanding of how an Ember app is constructed front to back. Please feel free to refer back to the completed EmberTrackr app as necessary.
Bootstrapping The App
The first step obviously is to get our app into the “Hello World” state, where it is just functional enough to display the basic page.
Let’s start by creating the project using the ember command:
$ ember create ember-trackr
$ cd ember-trackr
This will create a new directory called ember-trackr. If we take a look inside this directory we’ll see it contains the scaffolding of an Ember app:
ember-trackr
|-- ember.json
|-- index.html
`-- js
    |-- components
    |-- config
    |   |-- app.js
    |   |-- routes.js
    |   `-- store.js
    |-- controllers
    |-- helpers
    |-- mixins
    |-- models
    |-- routes
    |-- templates
    |   |-- application.hbs
    |   `-- index.hbs
    |-- vendor
    |   |-- ember-data.js
    |   |-- ember.js
    |   |-- handlebars.js
    |   |-- jquery.js
    |   `-- localstorage_adapter.js
    `-- views
Let’s quickly run through the purpose of these directories and files:
- ember.json configuration for Ember Tools
- index.html a minimal HTML page containing the app
- components/ contains component classes
- config/app.js the application’s namespace; our main dependencies are required here
- config/routes.js the overall routing map; individual routes are defined in the routes/ directory
- config/store.js configuration for the Ember Data Store instance
- controllers/ contains controller classes
- helpers/ contains custom Ember.Handlebars helpers
- mixins/ contains mixins to be used in other classes
- models/ contains model classes
- routes/ contains individual route classes
- templates/ contains handlebars templates
- templates/application.hbs the top-level application template
- templates/index.hbs the top-level index template — consider it the homepage
- vendor/ contains our application’s dependencies
- views/ contains view classes
Now let’s build the app for the first time to see what happens:
$ ember build
   created:     js/templates.js
   created:     js/index.js
   created:     js/application.js
Build time: 739 ms
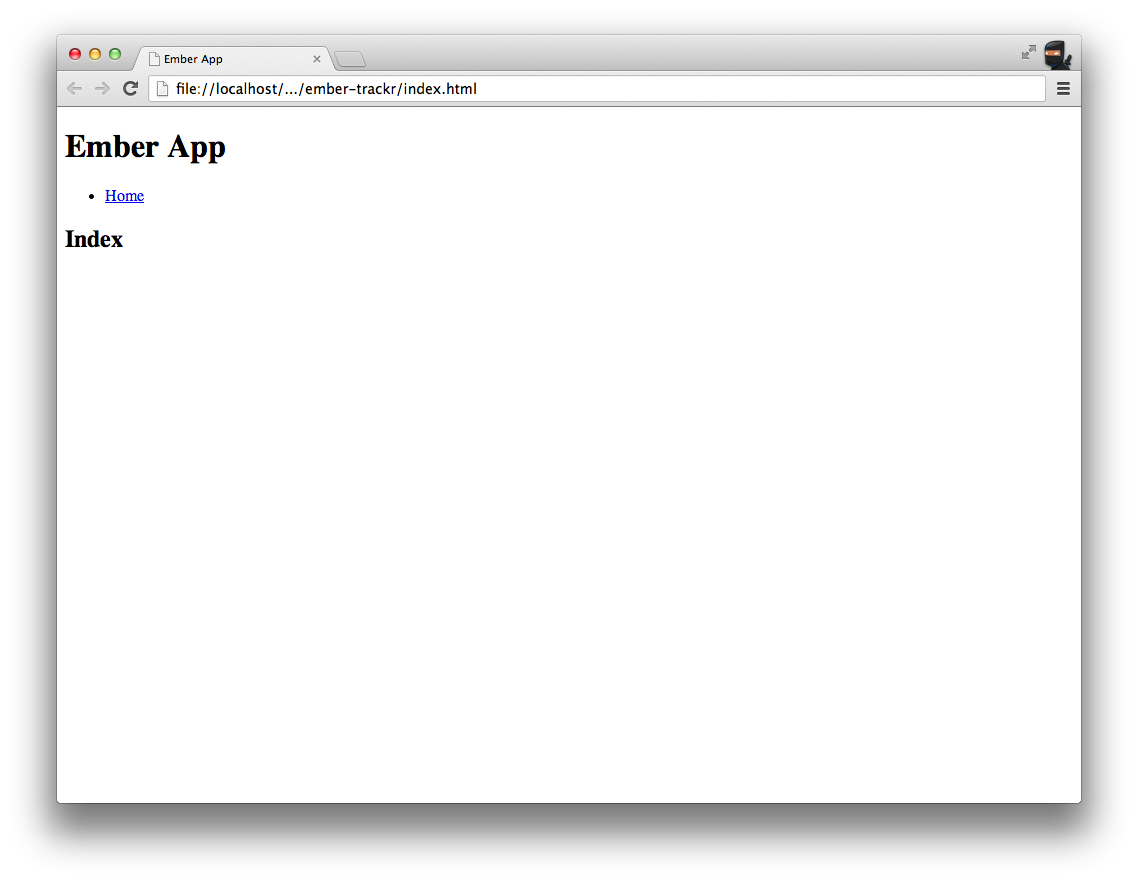
We should now see a new file js/application.js, which contains the complete concatenated source including dependencies. Let’s see it running:
$ open index.html
With any luck, we should see something like this:
Building the shell of EmberTrackr
As discussed in previous chapters, Ember’s router will automatically try to do as much of the work as it can for us. Notice that our application does not have any controllers or routes by default, yet we are still able to navigate to the index page. This is because Ember has generated them for us at runtime and injected them into the application. We can easily override that behavior by simply defining a controller class of our own.
Let’s devise a simple test to drive out this new behavior. Up to this point, we haven’t created any test files, so let’s start with some initial setup. We’ll create a directory called test in the root of our project and a file called setup.js:
ember-trackr/
`-- test/
    `-- setup.js
We’re going to load this file first in our test suite, and we’ll use it to switch our App into testing mode:
App.rootElement = '#qunit-fixture';
App.setupForTesting();
App.injectTestHelpers();
The first line tells our Ember app which element to use as root. By default, Ember uses the document body as its root element, but in our tests we’ll use the automatically generated qunit-fixture element.
The second line prepares our app for testing. Normally, an Ember app will boot on document.ready, but in testing mode it will wait until we explicitly boot or reset it. See deferReadiness and advanceReadiness for more.
The third injects a set of asynchronous test helpers into the global scope. These helpers allow us to programmatically interact with the app, and we’ll meet them shortly.
Now we’ll add some configuration for Testem in testem.json, which lives at the root of the repository:
{
  "framework": "qunit",
  "src_files": [
    "js/*/**/*",
    "test/**/*"
  ],
  "serve_files": [
    "js/application.js",
    "test/setup.js",
    "test/**/*.js"
  ],
  "before_tests": "ember build -c"
}
This simple bit of config tells Testem the following:
- Use QUnit as the test framework
- Watch all files matching js/*/**/* and test/**/*
- Serve js/application.js, test/setup.js and test/**/* to the test page
- Run ember build -c when any file changes, before the tests run
With these two files in place, let’s boot Testem and tell to launch Chrome to run the suite:
$ testem -l Chrome

Testem will now launch an instance of Google Chrome and load the suite.
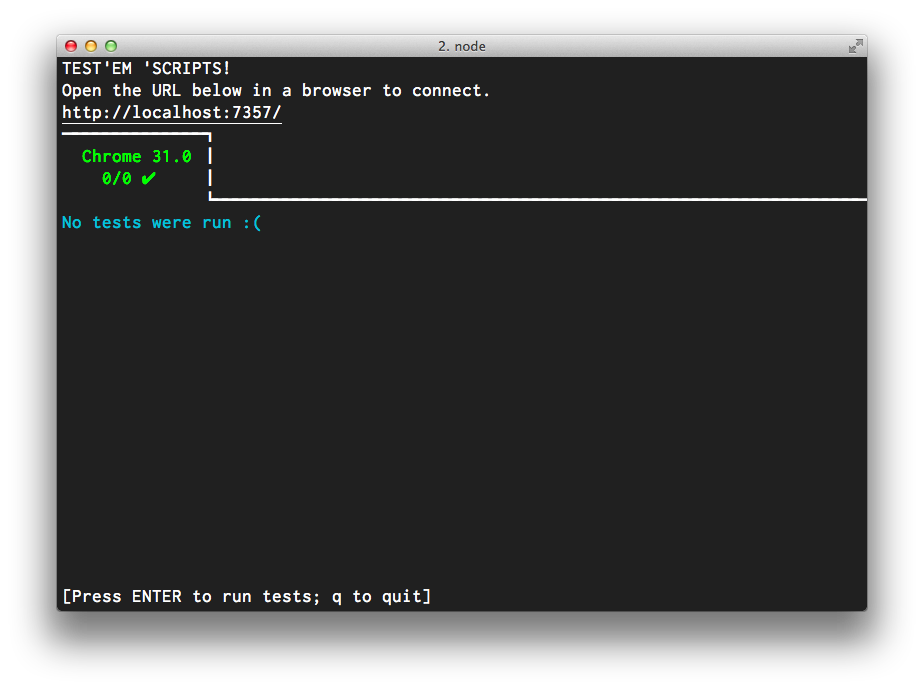
So far so good, but now we need to add a test. We’ll leave Testem running in a window and create a new file called test/application_test.j. We’ll use this test to ask some general questions of the app, and hopefully drive out some code in the process.
Let’s start by testing that the footer contains a copyright notice with the current year.
module('Application', {
  setup: function() {
    App.reset();
  }
});

test('footer', function() {
  visit('/');
  andThen(function() {
    var year   = new Date().getFullYear(),
        expect = 'Copyright © ' + year + ' EmberTrackr Inc.',
        actual = $.trim(find('footer').text());

    equal(actual, expect);
  });
});
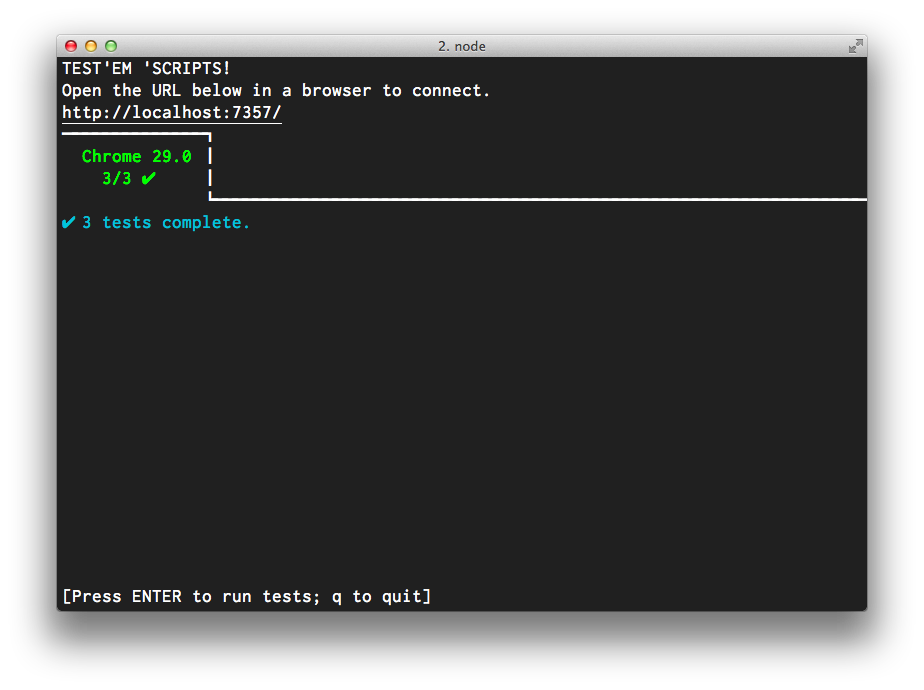
As soon as this file is saved, Testem should run the suite and we’ll see the following status:
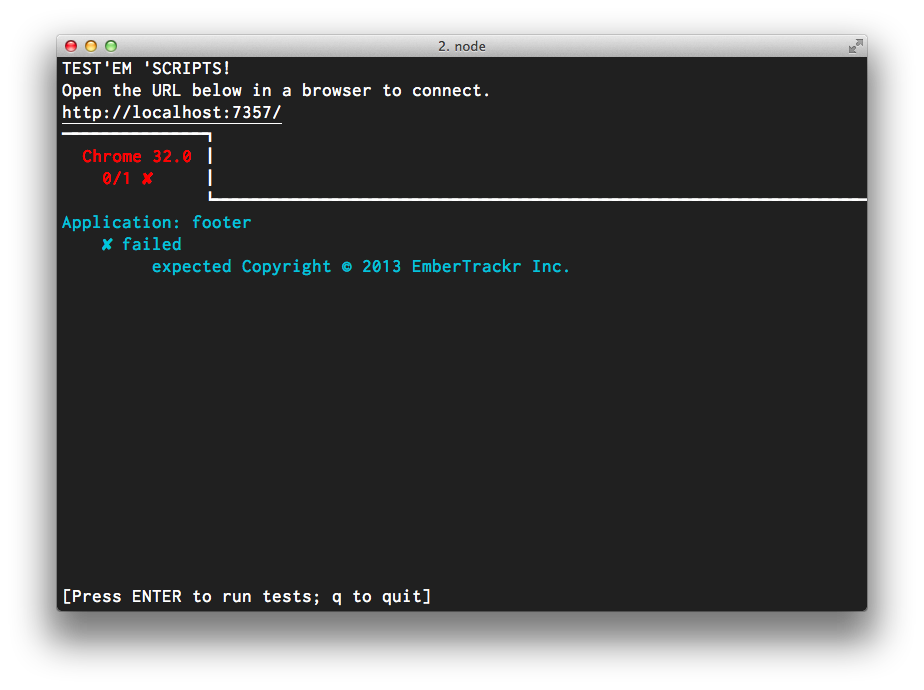
Let’s step through this test in order. First, QUnit runs the setup function for the module. This gets run before every test and simply performs App.reset() to get the app back into a clean starting state. We then step into the test itself and run visit('/') instructing the app to transition to the route for url /, in our case the application index route. visit returns a promise that will be resolved when the route transition completes successfully, so we chain on a then passing a function containing our real assertions.
var year   = new Date().getFullYear(),                     // the current year
    expect = 'Copyright © ' + year + ' EmberTrackr Inc.',  // the expected content
    actual = $.trim(find('footer').text());                // the actual content

equal(actual, expect);                                     // our assertion
We expect the footer to contain some text of the form 'Copyright © 2013 EmberTrackr Inc.' so we use find('footer').text() to get the actual rendered text and then trim off any unwanted whitespace with $.trim. find is an alias for jQuery’s $ scoped to the app under test. Any normal jQuery methods can be used on its result.
Let’s make this test go green.
We start in the application template js/templates/application.hbs. We’re only concerned with the footer for now, so we’ll reduce the template to simply outlet and footer:
{{outlet}}
<footer>
<p>Copyright © {{currentYear}} EmberTrackr Inc.</p>
</footer>
Almost immediately after saving this file, Testem will rebuild the app and run the suite and we’ll see we’ve come a step closer:
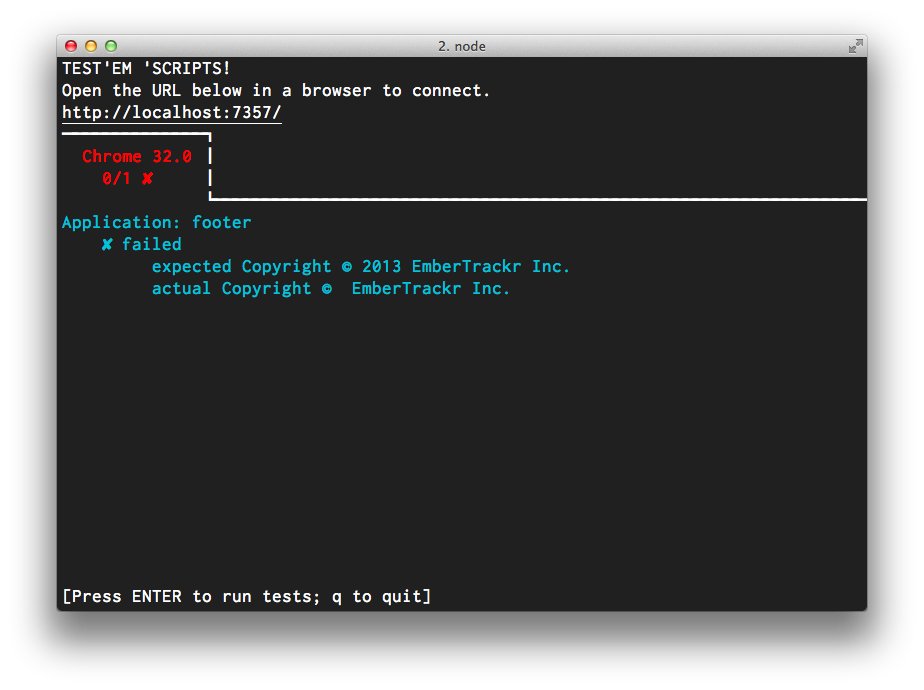
Now all that remains is to provide a currentYear property. There are a couple of ways to add this, but the simplest for now is to make it a property of ApplicationController.
We can generate a new controller using ember-tools’ generate command:
$ ember generate -c application
-> What kind of controller: object, array, or neither? [o|a|n]: n
   created:     js/controllers/application_controller.js
In our new controller we’ll add a single computed property called currentYear:
var ApplicationController = Ember.Controller.extend({
  currentYear: function() {
    return new Date().getFullYear();
  }.property()
});

module.exports = ApplicationController;
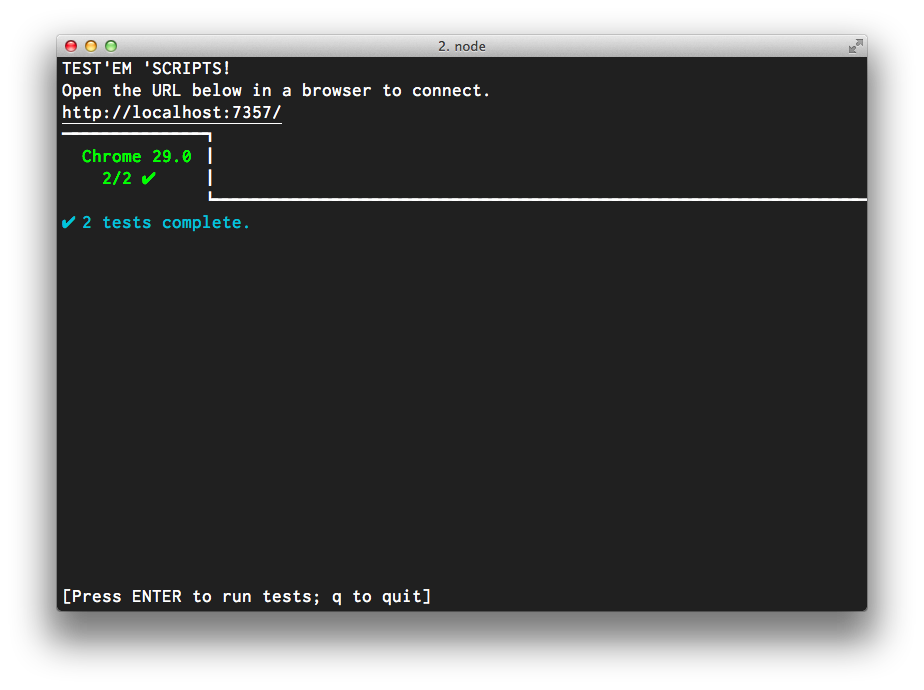
Testem notices our new controller and, sure enough:

And to really prove to ourselves this app is doing what we expect, we’ll open it in the browser:
$ open index.html
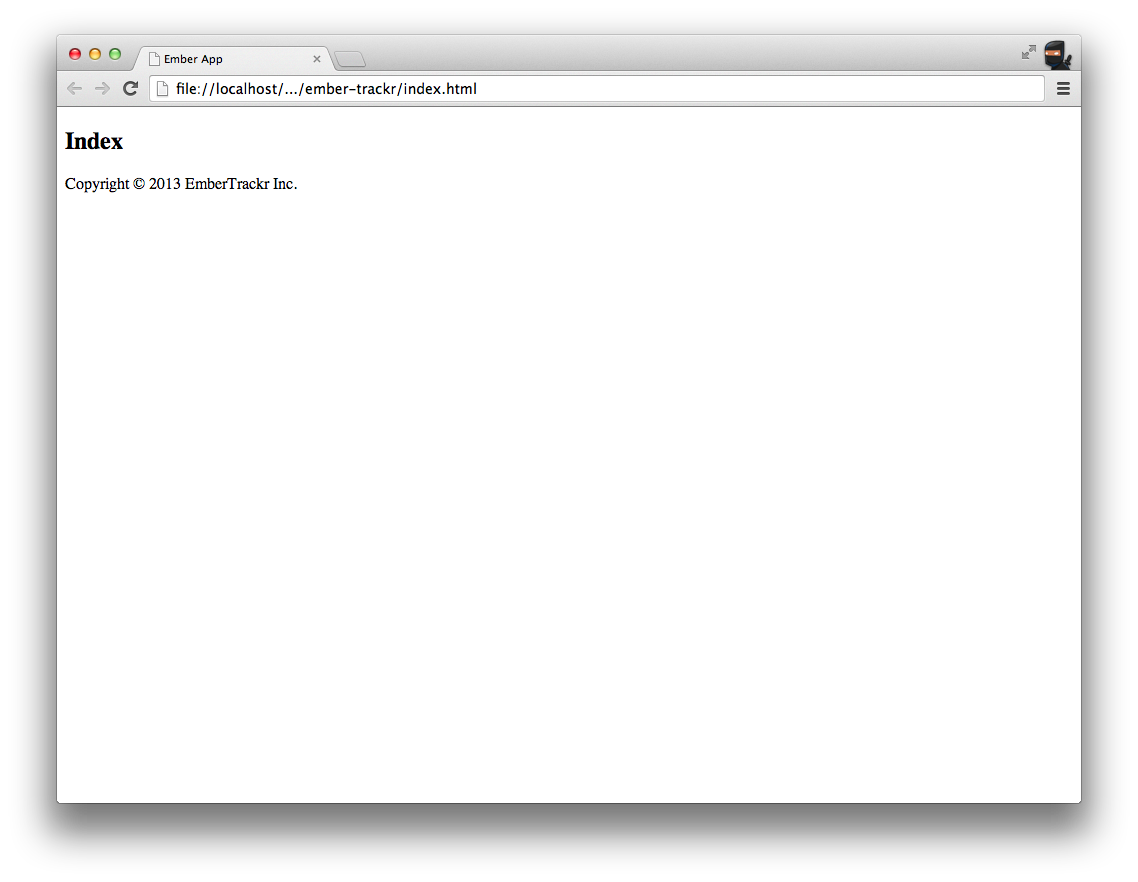
It definitely works but looks a bit vanilla. Let’s add some markup and styles. We’ll start by linking Bootstrap and our own custom application.css in index.html (and let’s update the title while we’re at it):
<!doctype html>
<html lang="en">
<head>
 <meta charset="utf-8">
 <title>EmberTrackr</title>
 <link rel="stylesheet" href="http://netdna.bootstrapcdn.com/bootstrap/3.0.0/css/bootstrap.min.css">
 <link rel="stylesheet" href="css/application.css">
</head>
<body>
 <script src="js/application.js"></script>
</body>
</html>
Then we’ll add some markup to js/templates/application.hbs. We’re going to go borrow liberally from Bootstrap’s examples to create a dark navbar, container contents and sticky footer:
<div id="wrap">
<header class="navbar navbar-inverse navbar-fixed-top">
<div class="container">
<div class="navbar-header">
{{#link-to "index" class="navbar-brand"}}EmberTrackr{{/link-to}}
</div>
</div>
</header>
<div role="main" class="container">
{{outlet}}
</div>
</div>
<footer id="footer">
<div class="container">
<p class="text-muted credit">Copyright © {{currentYear}} EmberTrackr Inc.</p>
</div>
Then we’ll add some basic styles to css/application.css to produce a desired layout:
html,
body {
  height: 100%;
}

.application {
  height: 100%;
}

#wrap {
  min-height: 100%;
  height: auto !important;
  height: 100%;
  margin: 0 auto -60px;
  padding: 0 0 60px;
}

#footer {
  height: 60px;
  background-color: #f5f5f5;
}


#wrap > .container {
  padding: 60px 15px 0;
}

.container .credit {
  margin: 20px 0;
}

#footer > .container {
  padding-left: 15px;
  padding-right: 15px;
}
Next, we’ll create a basic ApplicationView class. Creating an application view is optional. If we do not create one, Ember will do it for us. In this case, however, we want to add a class to our application view. First we’ll create the view using ember tools:
$ ember generate -v application
   created:     js/views/application_view.js
Then we’ll add the application class to our application view:
var ApplicationView = Ember.View.extend({
  classNames: ['application']
});

module.exports = ApplicationView;
Lastly, we’ll update the index template js/templates/index.hbs to give it a more appropriate welcome message:
<div class="page-header">
<h1>Welcome to EmberTrackr!</h1>
</div>
<p class="lead">So far so good…</p>
<p>Plenty more feature to add yet.</p>
Now head back over to your web browser, refresh the page and checkout the progress.

We’re going to continue through the process of building EmberTrackr using the same cycle — write a failing test, make it pass, refactor as necessary. This TDD approach will likely be familiar to most readers. We’ll also make sure to take time to play with the app and refine the user interface.
Ember Tools
Before continuing, let’s quickly talk about ember-tools. We used the generate command to create our application controller, which created the file in a specific directory with a specific filename.
$ ember generate -c application
-> What kind of controller: object, array, or neither? [o|a|n]: n
   created:     js/controllers/application_controller.js
The generate command can generate any combination of different files, and provides help to document all of its features:
$ ember generate -h

  Usage: generate [options] [name]

    [name]    the under_score name of your object
    [fields]  field:type pairs, ex: 'name:string age:number broke:boolean'
    [options] can be combined

  Options:

    -h, --help                      output usage information
    -p, --component [name]          generates a component
    -c, --controller [name]         generates a controller
    -l, --helper [name]             generates a handlebars helper
    -x, --mixin [name]              generates a mixin
    -m, --model [name] [fields]     generates a model with optional [fields]
    -r, --route [name]              generates a route
    -s, --scaffold [name] [fields]  scaffolds full CRUD for a model
    -t, --template [name]           generates a handlebars template
    -v, --view [name]               generates a view
The command also provides a template for the generated file:
var ApplicationController = Ember.Controller.extend({
});

module.exports = ApplicationController;
Elsewhere in the book we’ve defined application classes directly on the application namespace (i.e. App.ApplicationController). Ember Tools tries to keep things modular by defining our classes as Common JS modules, which are then imported at the correct moment at runtime.
If this degree of modularity seems like overkill for the context, trust that taking this approach will eventually pay off when building ambitious applications.
Setting Up The Store
To store our model data (Tickets and Users) we’ll be using Ember Data. At the time of writing, Ember Data is in the 1.0 beta phase, so we’ll first update our EmberTrackr to use the latest beta. This involves downloading an updated dependency and tweaking our app’s configuration a little.
First up, we’ll download the new version of Ember Data. The store currently doesn’t interact with any part of our app, so we’ll write a simple test to verify that we’ve updated successfully.
We create a new test in test/store_test.js:
module('Store');

test('Ember Data version', function() {
  ok(DS.VERSION.indexOf('1.0.0-beta') === 0,
     'expected DS.VERSION to be 1.0.0-beta.x (currently ' + DS.VERSION + ')');
});

This is simple enough to fix. We’ll visit emberjs.com/builds/#/beta/latest and grab the url of the latest Ember Data beta build to replace the file in js/vendor/ember-data.js.
$ curl http://builds.emberjs.com/beta/ember-data.js > js/vendor/ember-data.js
Now we’ll write a second test in test/store_test.js to verify the store is using the correct adapter, DS.FixtureAdapter:
test('store uses DS.FixtureAdapter', function() {
  var store   = App.__container__.lookup('store:main'),
      adapter = store.adapterFor('application'),
      name    = adapter.constructor.toString();

  equal(name, 'DS.FixtureAdapter');
});
A Brief Note on Dependency Injection
We’re reaching a little further than normal into the cookie jar for this test. In doing so we get a sneak peek at Ember’s dependency injection system. The public API for this part of Ember is still in flux, so we won’t cover it in too much detail but let’s quickly pull apart what’s going on here:
- We ask the app’s hidden __container__ object to lookup store:main.
- We ask the store to tell us what its adapterFor application is.
- We assert this is an instance of DS.FixtureAdapter by calling constructor.
In the application code itself, we never touch __container__ because we can rely on it to inject the right dependencies at the appropriate moment. As a result, whenever we need access to the store in our application, we just use this.get('store'). If the store hasn’t been injected into a particular object, that’s a strong hint that the object in question shouldn’t know anything about the store.
If all this sounds a little confusing, don’t worry. The important thing to remember is that dependencies such as the store are always resolved and injected automatically.
At this point Testem is reporting a curious error:
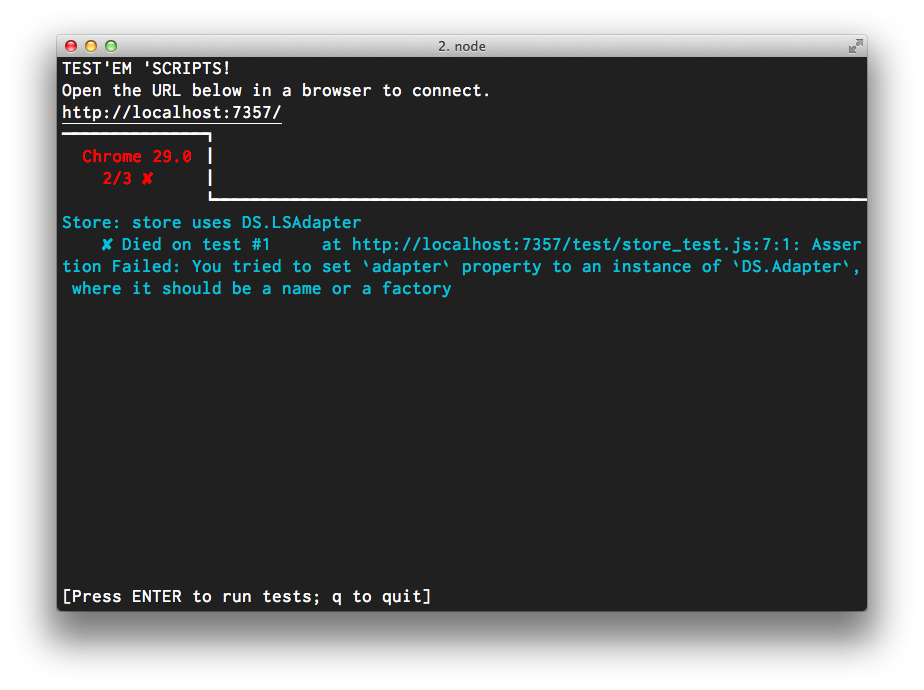
While it’s not entirely convenient to get such an odd error, it does highlight how communicative Ember’s error messages can be. Let’s try to work out what’s going on:
Assertion Failed: You tried to set `adapter` property to an instance of `DS.Adapter`, where it should be a name or a factory
Hmm, where are we setting adapter? Let’s start in js/config/app.js:
// require other, dependencies here, ie:
// require('./vendor/moment');

require('../vendor/jquery');
require('../vendor/handlebars');
require('../vendor/ember');
require('../vendor/ember-data'); // delete if you don't want ember-data

var App = Ember.Application.create();
App.Store = require('./store'); // delete if you don't want ember-data

module.exports = App;
On line 10, we’re setting App.Store to whatever is exported by the file store.js relative to this one. Let’s take a look there:
// by default, persist application data to localStorage.
require('../vendor/localstorage_adapter');

module.exports = DS.Store.extend({
  revision: 11,
  //adapter: DS.RESTAdapter.create()
  adapter: DS.LSAdapter.create()
});
Ah ha! It turns out Ember Tools has generated us some old configuration code for Ember Data. The good news is, things have become dramatically simpler.
First step to fixing this, let’s remove js/config/store.js.
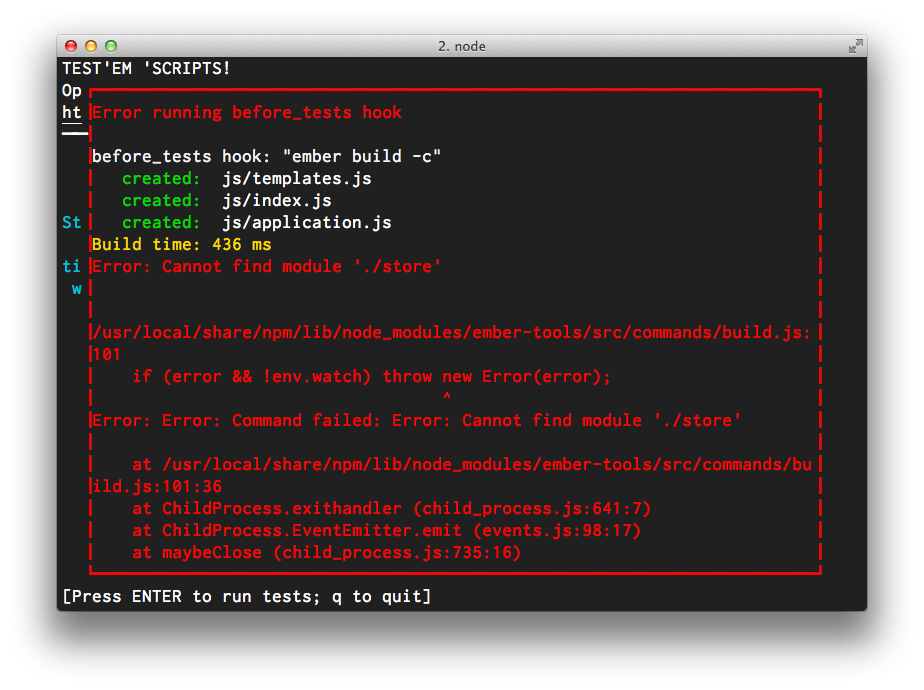
The error Cannot find module './store' tells us we’re trying to require a file that no longer exists, so let’s remove line 10 from js/config/app.js altogether, leaving us with:
require('../vendor/jquery');
require('../vendor/handlebars');
require('../vendor/ember');
require('../vendor/ember-data');

var App = Ember.Application.create();

module.exports = App;
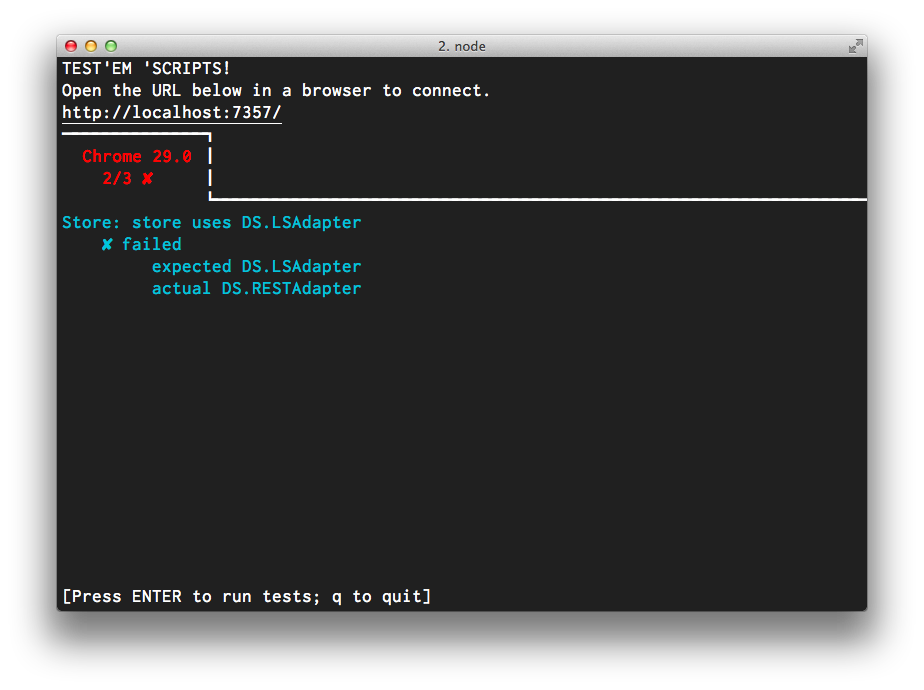
That’s more like it. Now we’re getting the “right failure” and we just need to load in DS.FixtureAdapter.
We’ll edit js/config/app.js to set App.ApplicationAdapter as DS.FixtureAdapter:
require('../vendor/jquery');
require('../vendor/handlebars');
require('../vendor/ember');
require('../vendor/ember-data');

var App = Ember.Application.create();

App.ApplicationAdapter = DS.FixtureAdapter;

module.exports = App;
We’re in business!
Note that Ember Data uses a familiar naming-convention based approach to resolving decencies such as adapters and serializers.
Wrapping Up
We now have our complete development toolchain working, including automatic test suite and data store, so let’s move on to implement some real features of EmberTrackr. First up, adding tickets.